PLEASE NOTE
I started working on this project quite a while ago. It's not a high priority so progress has been
toucn-and-go, but I'm okay with that. Some friends, however, pushed me to put up some preliminary
photos and information, so I did. That was fine, for a while...
Then I posted the thing about the heatsink from hell to the MAKE message board. MAKE put it into
their blog, and from there it got picked up by several other blogs as well as a few news feeds and
other channels of noise out there on the internet. All of a sudden, my humble little website went
from getting 3 or 4 hits a day to several thousand.
Now, that's not a problem (although I did have to bump up my web hosting account to handle
the bandwidth), actually, it's kind of cool. What WAS a problem was that there were suddenly
hundreds of people looking at this anemometer page and it was ... well ... embarrassingly badly
put together.
So today I'm cleaning up the page and fleshing out some details. There isn't all that much new
information, but at least it doesn't look like crap! I'll be getting back to work on this pretty
soon. If you would like to receive an email when it get's updated, send me an email and I'll put
you on the list. Believe me, I will NOT use your email for anything else, or let anyone else
have it. Drop a note to:
wind(at)hackersbench(dot)com
John
October 7, 2006
|
These photos cover the mechanical assembly of the anemometer sensor. What it doesn't show
yet is the slotted shaft and photo interrupter that goes in the center. The electronics is
going to be a frequency-to-voltage converter IC feeding three stacked LM3914 bargraph display
drivers.
You can click on any of the images below for a larger view.
|
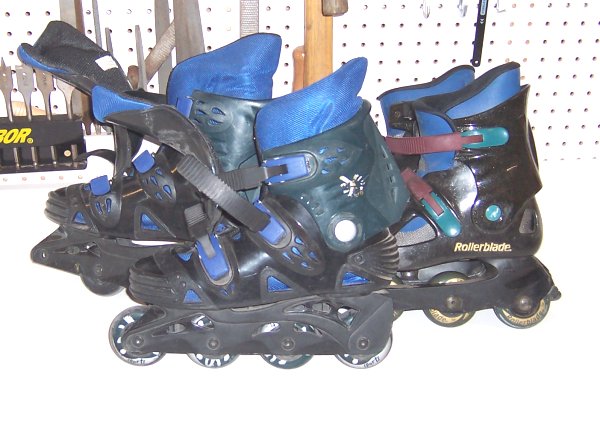 |
The first thing I needed to find to build the anemometer were decent ball bearings, but new ones
cost $7.00 to $15.00 each and i didn't want to spend that much. After some searching around I
found these In-Line Skates at a Salvation Army thrift store, and bought both pair for $6.00. |
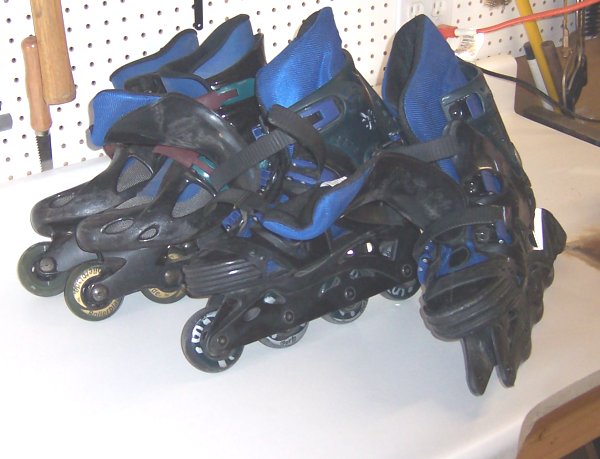 |
Each shoe has 4 wheels, and each wheel has 2 bearings. That comes out to 32 bearings
for $6.00. A replacement set of bearings for the skates cost about $24.00 new. That comes out
to about 19 cents per bearing. Since I only need a couple for this project, I also ended up
with a bunch of spares, and inventory for future projects. |
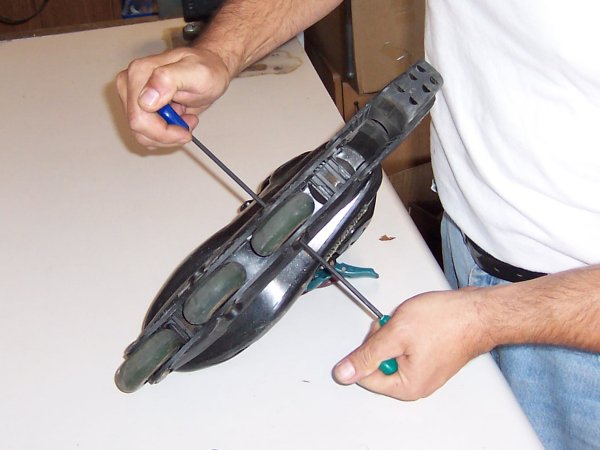 |
Wheels are released by using allen wrenches on both sides. Some really fight back. It's easy
to see the maintenance of the skates done by the original owner ... *NOT!* |
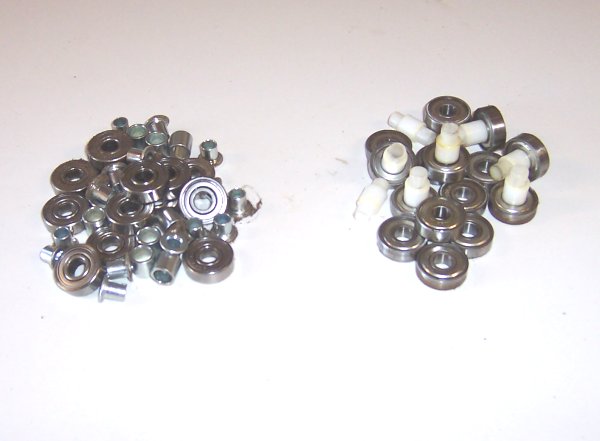 |
The pile on the right is from one pair of skates, the left pile is from the other. The
left pile used two shaft bushings and a metal spacer per wheel. The right used a cheap
plastic spacer. A number of the bearings on the right are completely worn out. |
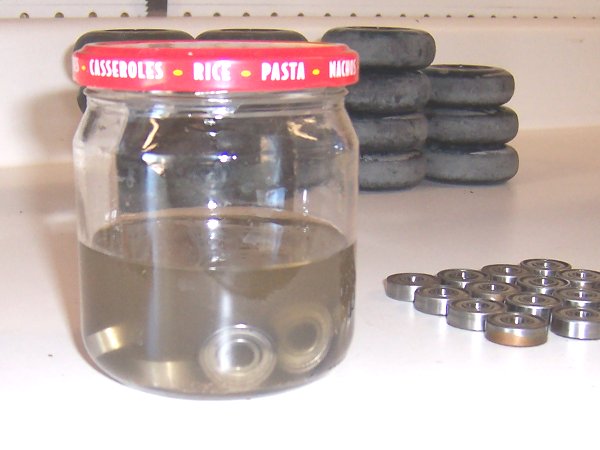 |
Note the color of solvent during first wash of just one set of bearings. This was the set with
the metal spacer. An amazing amount of sand and dirt was left in the jar. Also note the bad
surface on the bearings sitting on the bench. They were from the cheaper skates, and it shows.
After cleaning all of the bearings spin very well, but they rattle a little without any grease
or oil. Some are also found to be too far gone and are discarded. I washed each set twice with
laquer thinner. |
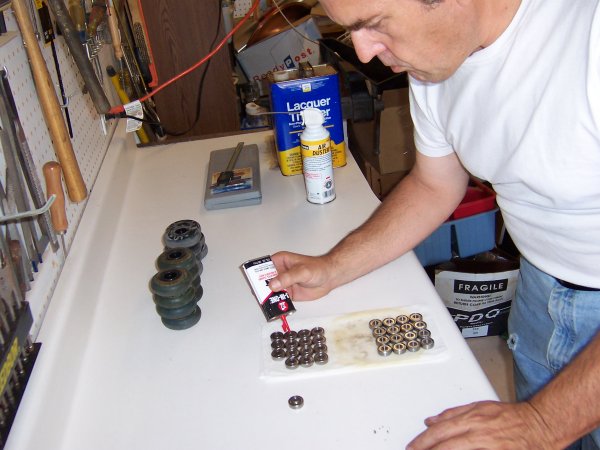 |
After cleaning and drying, 3 drops of light oil per bearing, then spin them by hand.
The rattling stops, and most of the bearings feel tight and smooth again. |
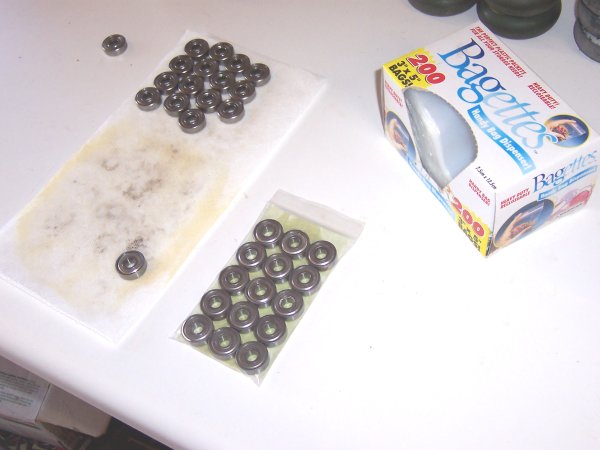 |
The bearings are stored in air-tight zip-lock bags with a piece of folded desicant paper to absorb
any moisture and to try to stop any rust from forming. |
Go To Next Page
|
|